Let’s De-Mystify Kombucha (An Easy, No-Stress Process Guide)
Most kombucha guides read like high-stakes biochemistry textbooks, filled with pages of fluff just to tell you how to steep tea. I’m skipping the history lesson and the gatekeeping to give you actual value. If you live in a real house with a real budget—and a kitchen that fluctuates because you don't have a central HVAC system running 24/7—here is the exact, low-stress process that actually works.
Instead of fighting the room temperature, I use a single-jar continuous brewing setup with a SCOBY—which stands for Symbiotic Culture of Bacteria and Yeast. It’s the living, rubbery disc that sits at the top of the jar, converting sugar into organic acids while acting as a natural shield for the liquid. Because the jar always keeps a large volume of this highly acidic liquid on hand, it creates a self-regulating environment that naturally keeps mold away, even when the kitchen gets chilly.
Here is exactly how the process works from start to finish, and how I adapted it after moving from California to a cooler climate.
Part 1: Managing the Continuous Brew Jar
The beauty of this method is that you never empty the main jar or mess around with a separate SCOBY hotel. The jar is the hotel, and the process is just a simple cycle of drawing out finished brew and feeding it fresh tea.
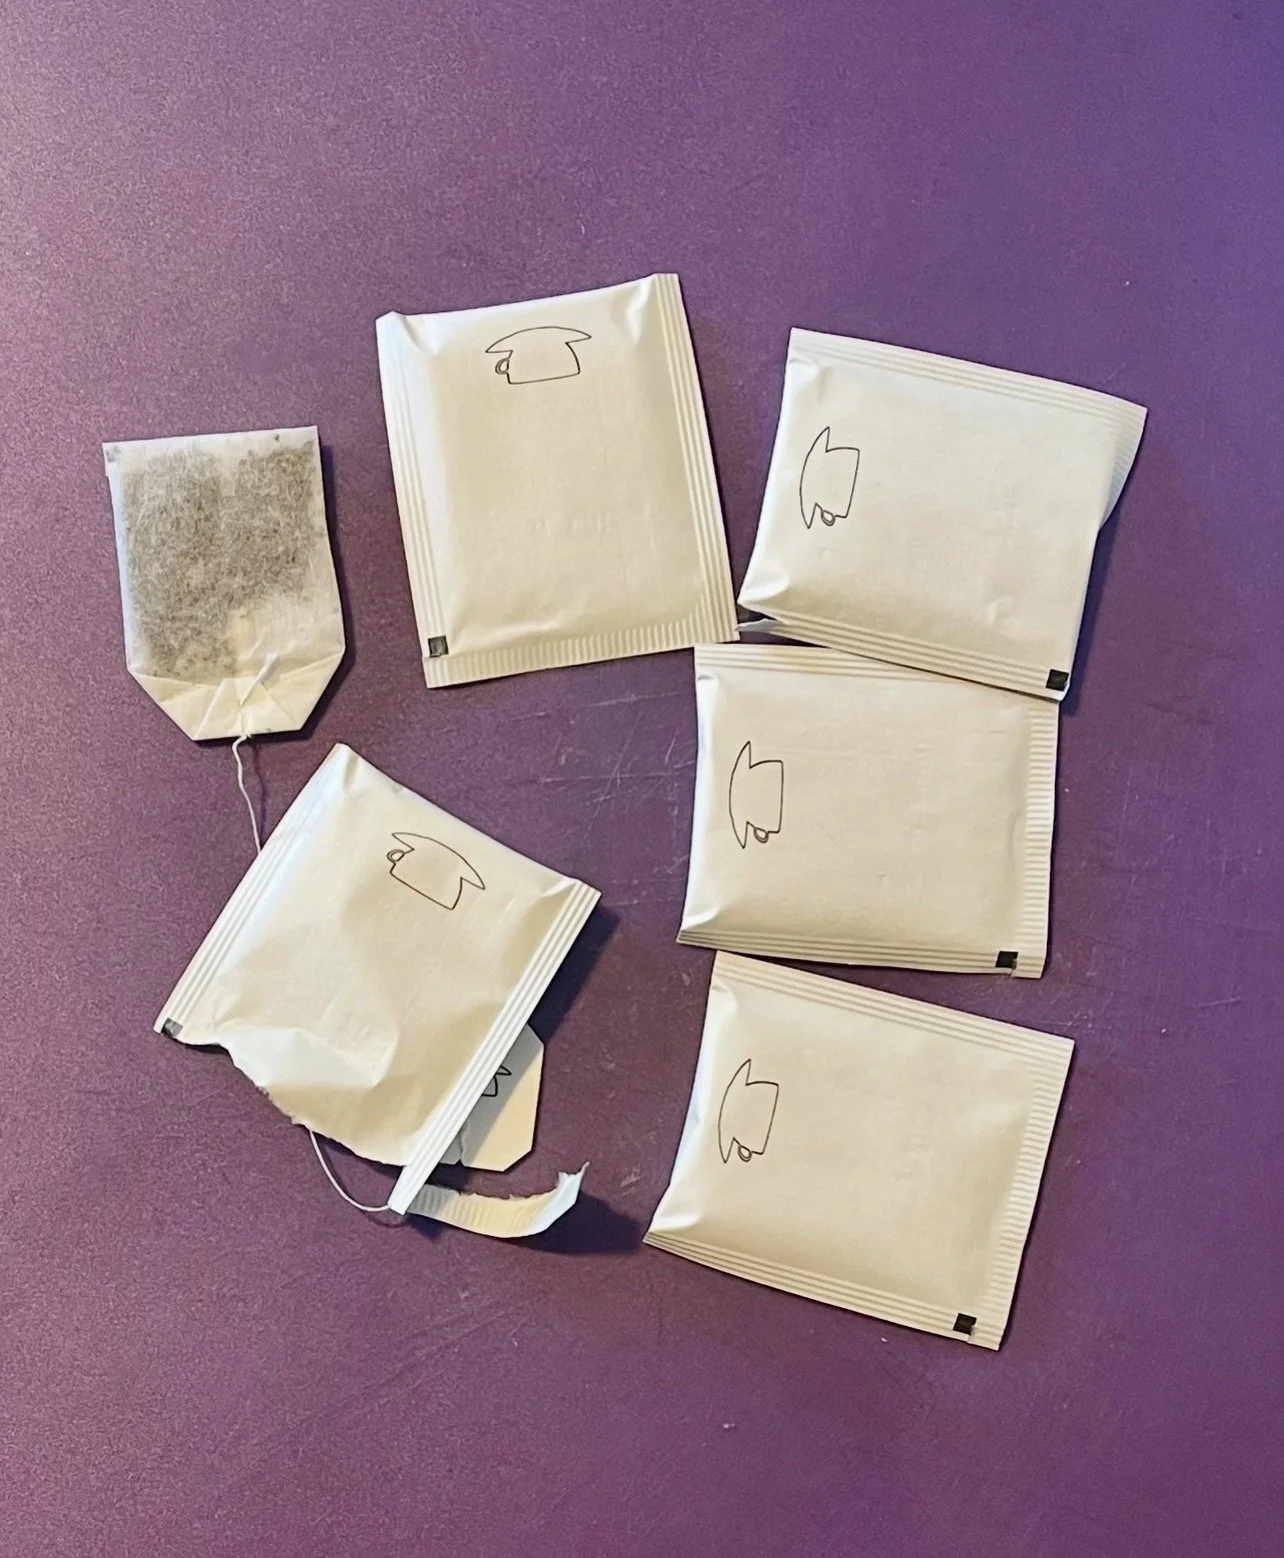
Step 1: Brew the feed tea. Heat 4 cups of cold tap water to a boil (always start with cold tap water to avoid the sediment and flat taste from a hot water heater). Remove it from the heat and add 5 tea bags. You can use black, white, or green tea for this—black tea gives a classic bold flavor, while green or white tea keeps the brew much lighter and crisper. Sometimes, I love to use black tea mixed with chai to give the base a cozy, spiced depth. It is essential to use real tea because your SCOBY actually eats both the sugar and the caffeine. While the yeast processes the sugar, the bacteria consumes the caffeine as a vital nutrient to grow and build its cellular strength. This dual-appetite is why the finished drink naturally ends up being both low-sugar and low-caffeine! After letting it brew for 10 minutes, remove the bags, add 1 cup of sugar, and stir until completely dissolved. Once the sugar is dissolved, add ice directly into the hot tea to instantly bring it down to room temperature. Just make sure the final mix is completely cool to the touch before you pour it into your jar so you don't accidentally cook the live culture.
Step 2: Draw off the mature brew. Pour the finished kombucha out of your main jar into your individual glass bottling jars. You don’t need a measuring cup for this—just leave about 2 inches of liquid at the bottom of the main jar along with your SCOBY. This remaining layer is your starter, and its high acidity is what protects your next batch from mold.
Pro-Tip on SCOBY Behavior: Don't panic if your SCOBY sinks to the bottom, stands sideways, or drifts around the middle of the jar at its own free will. Textbooks always show them floating perfectly on top, but a healthy culture will dive and tilt constantly as yeast bubbles change its buoyancy. As long as it isn't fuzzy with mold, just let it do its thing. A brand-new baby layer will eventually form on the surface anyway.
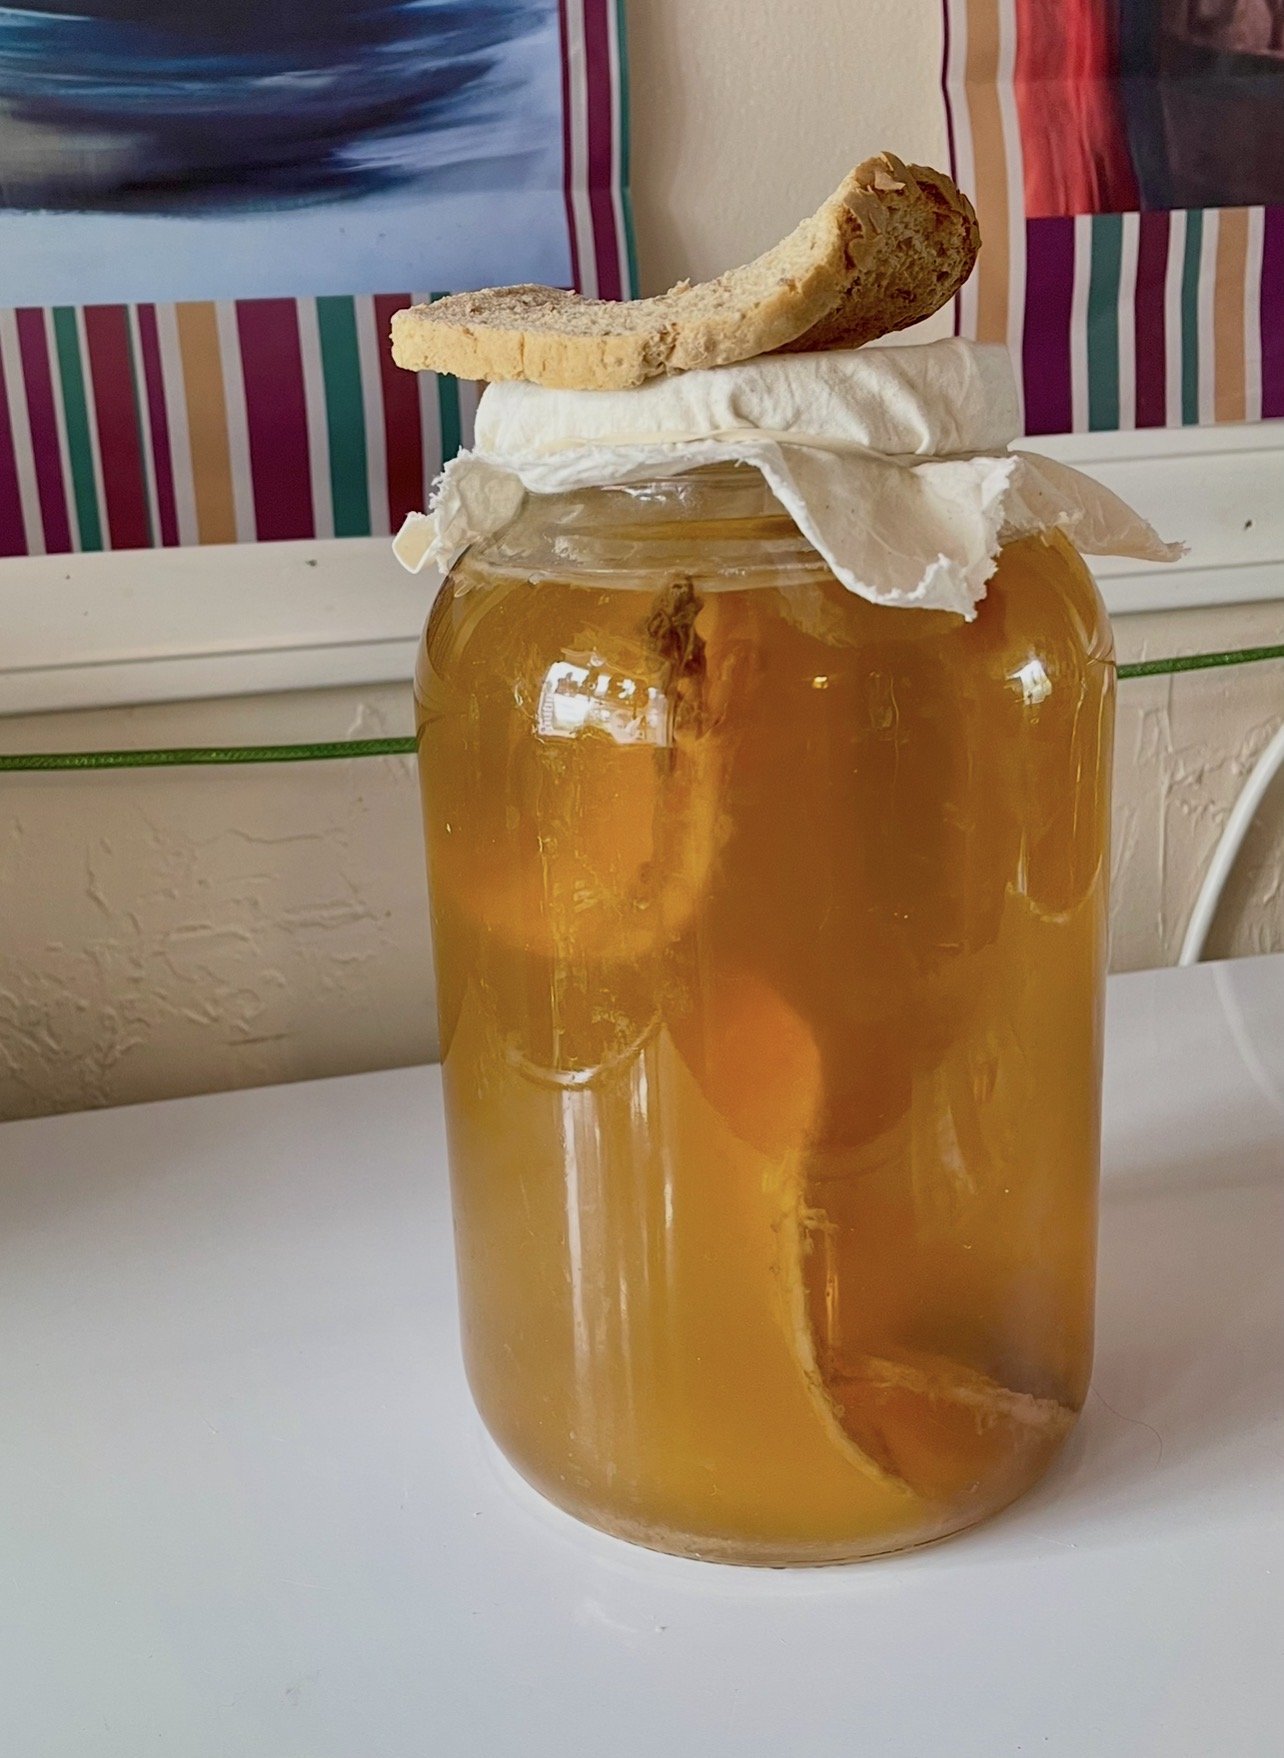
Step 3: Top it off. Pour your room-temperature sweet tea mix right back into the main jar with your SCOBY and starter liquid. Since your brewed tea concentrate won't fill a 1-gallon jar on its own, simply top off the rest of the jar with cold tap water until the liquid level sits about an inch from the top rim. Secure a tight-weave cloth cover (like a clean t-shirt or flour sack towel) over the top with a heavy rubber band to keep fruit flies out, and let it sit on the counter to ferment.
Where to park your jar: Make sure you choose a spot completely out of direct sunlight. While soft, indirect room light is perfectly fine, there should be absolutely no sunbathing for the SCOBY. Direct UV rays will act like a sterilizer, killing off your active, beneficial bacteria and ruining your culture.
The Odor-Blocking Bread Trick: If you don't like the strong, pungent vinegar smell of fermenting kombucha wafting through your kitchen, try this old-school hack. Place one slice of plain bread directly on top of the fabric cover, right over the jar opening. The porous bread acts like a natural carbon filter, absorbing the sharp odors. You can actually leave that same piece of bread sitting up there forever—it will dry out like a rock and keep doing its job indefinitely without you ever having to change it.
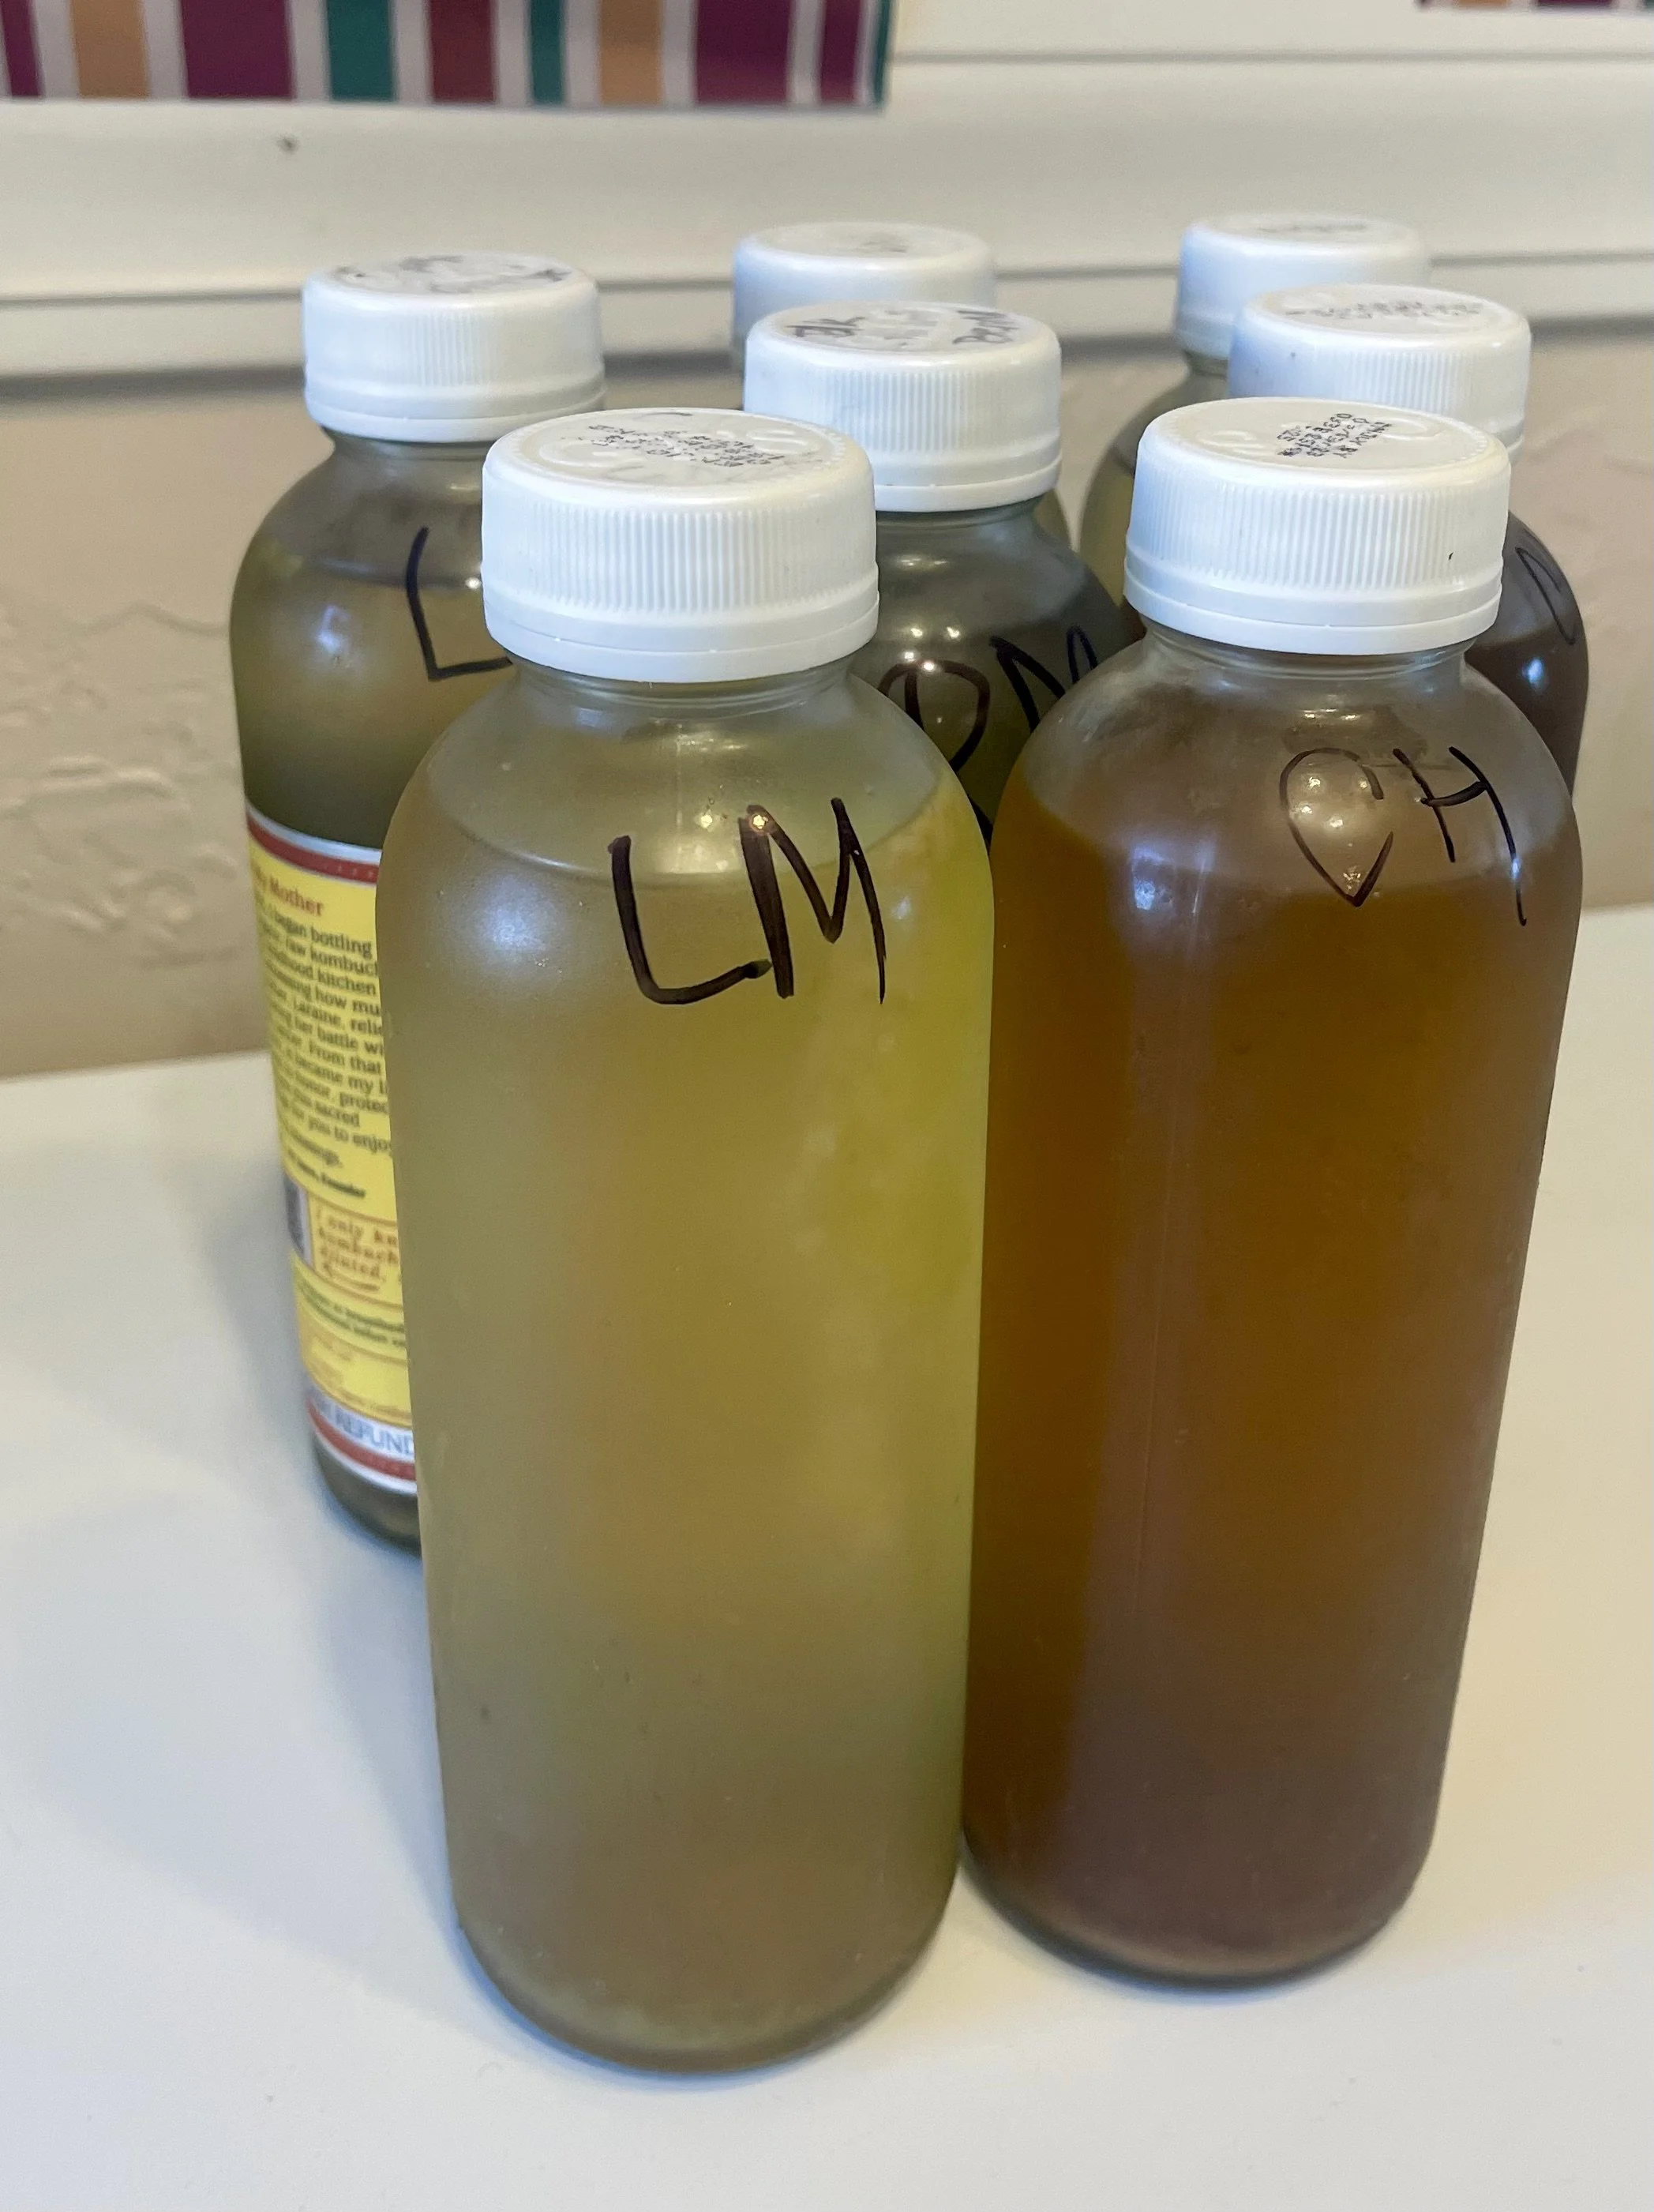
The Fermentation Timeline: Your new batch will typically be ready to bottle in about 10 to 14 days. Sometimes I let mine ride a little longer than that, which is totally fine—just keep in mind that the longer it sits on the counter, the more tangy and vinegar-forward it will taste. Taste it along the way and pull it when it reaches your perfect satisfaction! A standard 1-gallon batch will consistently yield about 6 to 7 bottles when you are ready to harvest.
Part 2: Preparing and Sanitizing Your Bottles
Setting your bottles up for success means making sure they are completely clean before the kombucha touches them. My favorite way to handle a big batch of glass bottles all at once is to sanitize them right in the oven.
Step 1: Wash them first. Scrub your bottles thoroughly with hot, soapy water, using a bottle brush to clean out any old yeast strands or residue at the bottom. Rinse them completely.
Step 2: Place them in a cold oven. Arrange your clean, wet glass bottles on a baking sheet, making sure they aren't touching each other. Never put rubber rings, flip-top seals, or plastic caps in the oven—the dry heat will ruin and melt them. Put your seals and caps in a small bowl of boiling water on the counter instead.
Step 3: Bake and cool. Turn the oven to 250°F (120°C). Let the bottles heat up gradually with the oven to prevent the glass from cracking. Once the oven hits temperature, leave them in for 20 minutes. Turn the oven off and let the bottles cool down completely inside with the door closed.
Crucial Rule: The glass must be completely cool to the touch before you fill it. If you pour your kombucha into a hot bottle, you will instantly cook and kill your live yeast cultures.
Part 3: Flavoring the Bottles
Once the bottles are prepped, it’s time to flavor them. When pouring your mature kombucha into your individual bottles, always leave about 2 inches of headspace from the very top to leave room for your flavoring juice. I like to make my own fresh, non-citrus juices using an affordable masticating juicer I bought online. Because I don't rely on heavy fruit sugars to force a massive carbonation buildup in a cold room, I use sharp, vibrant herbs and spices that taste incredible with a gentler bubble:
Ginger Juice: I always keep a bottle of ginger juice in my fridge. It is the ultimate shortcut because it mixes instantly into the bottle and gives it that classic, fiery ginger kick without any chopping or grating. (Since it packs a stronger punch than fruit juices, you can use less and leave a little less headspace).
Lemon Mint or Lemon Basil: Bright citrus mixed with fresh herbs makes the brew taste like a gourmet mocktail. As a side note, I’ve found that mint and basil are completely indistinguishable from one another once they’ve been run through the juicer, so they are totally interchangeable depending on what you have on hand!
Lemon Rosemary: A savory, woody twist that pairs beautifully with the natural tartness of the tea. For this one, I don't juice the rosemary—I just throw a fresh sprig or two right into the bottle to let it infuse.
Lemon with Lemongrass: Lemongrass can be highly seasonal, and you often have to buy way more than you need. To save the extra stalks, I cut them cross-grain into 1/2-inch to 1-inch sections (thinner cuts for the wider parts), toss them into a freezer bag, and keep them frozen. When it's time to flavor the kombucha, I just throw 2 or 3 of those frozen chunks right into the bottle.
My Juicing Golden Rules: For any of the flavor combinations above that use lemon, I always juice the citrus manually and strain out the pulp before adding the liquid to the bottles. Straining is key because leaving heavy pulp behind causes it to clump together and create an unappealing plug at the top of the bottle. Furthermore, heavy, fibrous stems like lemongrass—and even hard blackberry seeds—will absolutely destroy and jam your masticating juicer. Do not try to run them through—don't find out the hard way like I did!
Part 4: The Bottling Phase (And the Step I Dropped)
This is where the climate change really impacted my routine. When I lived in Northern California, the constant ambient warmth kept my yeast incredibly active. I had to "burp" my bottles every single day to vent the pressure and prevent a massive explosion.
But when I moved to a cooler kitchen up north, daily burping left my kombucha completely flat.
Without central heat, the yeast goes into a bit of a hibernation mode and works at a snail's pace. When you open the caps to burp the bottles in a cold room, you completely reset the pressure to zero, and the sluggish yeast can't rebuild it before the next day. You end up letting out the only bubbles the bottle managed to make.
Now, my bottling routine is completely low-maintenance:
Mix in the flavors and lock the caps down tight.
Leave them completely alone on the counter for a couple of days. They need every ounce of pressure they can get to force those bubbles into the liquid.
Move them straight to the fridge and call it good.
And remember: this is homemade. If you get to your final bottle or two and find they aren't filled up completely to your liking, just top them up with a little splash of water and call it a day. This process doesn't need to match a hyper-specific science manual—it just has to meet your own satisfaction! Dropping the daily babysitting routine saves time, cuts out the stress, and lets you enjoy a crisp, tart, refreshing brew on your own terms.
A quick note on home brewing safety: Because we are dealing with live cultures on a kitchen counter, common sense is your best friend. Always use squeaky-clean jars and wash your hands thoroughly before touching your SCOBY. While a continuous brew jar is incredibly safe due to its high acidity, if you ever see green, black, or fuzzy mold on top of your SCOBY, or if the batch smells genuinely foul rather than pleasantly tart, don't try to save it. Trust your nose, discard the batch, and start fresh. Additionally, keep in mind that raw, homemade kombucha affects everyone differently; its health benefits can vary from person to person, and because it contains active acids and live cultures, it can sometimes interact with certain medications. If you have specific health conditions, it's always best to check with your doctor first.